
Install and quick start
ThoughtDAG turns LLM conversations into an editable graph. Each node contains a question and answer; incoming wires determine what the model sees next.
Desktop app recommended
The desktop app provides the complete experience: local session discovery, Session Atlas, automatic folder backup, bundled search and tools, and desktop updates.
Start from a problem
Edit unwanted context · Explore a side question · Reuse past discussions
Install the desktop app
macOS
Install with Homebrew:
brew install --cask thoughtdagThe macOS build is signed and notarized. You can also download it from the official download page.
Windows and Linux
Choose the correct installer on the download page. Windows builds are not signed yet, so SmartScreen may show a warning.
See the interface in under a minute
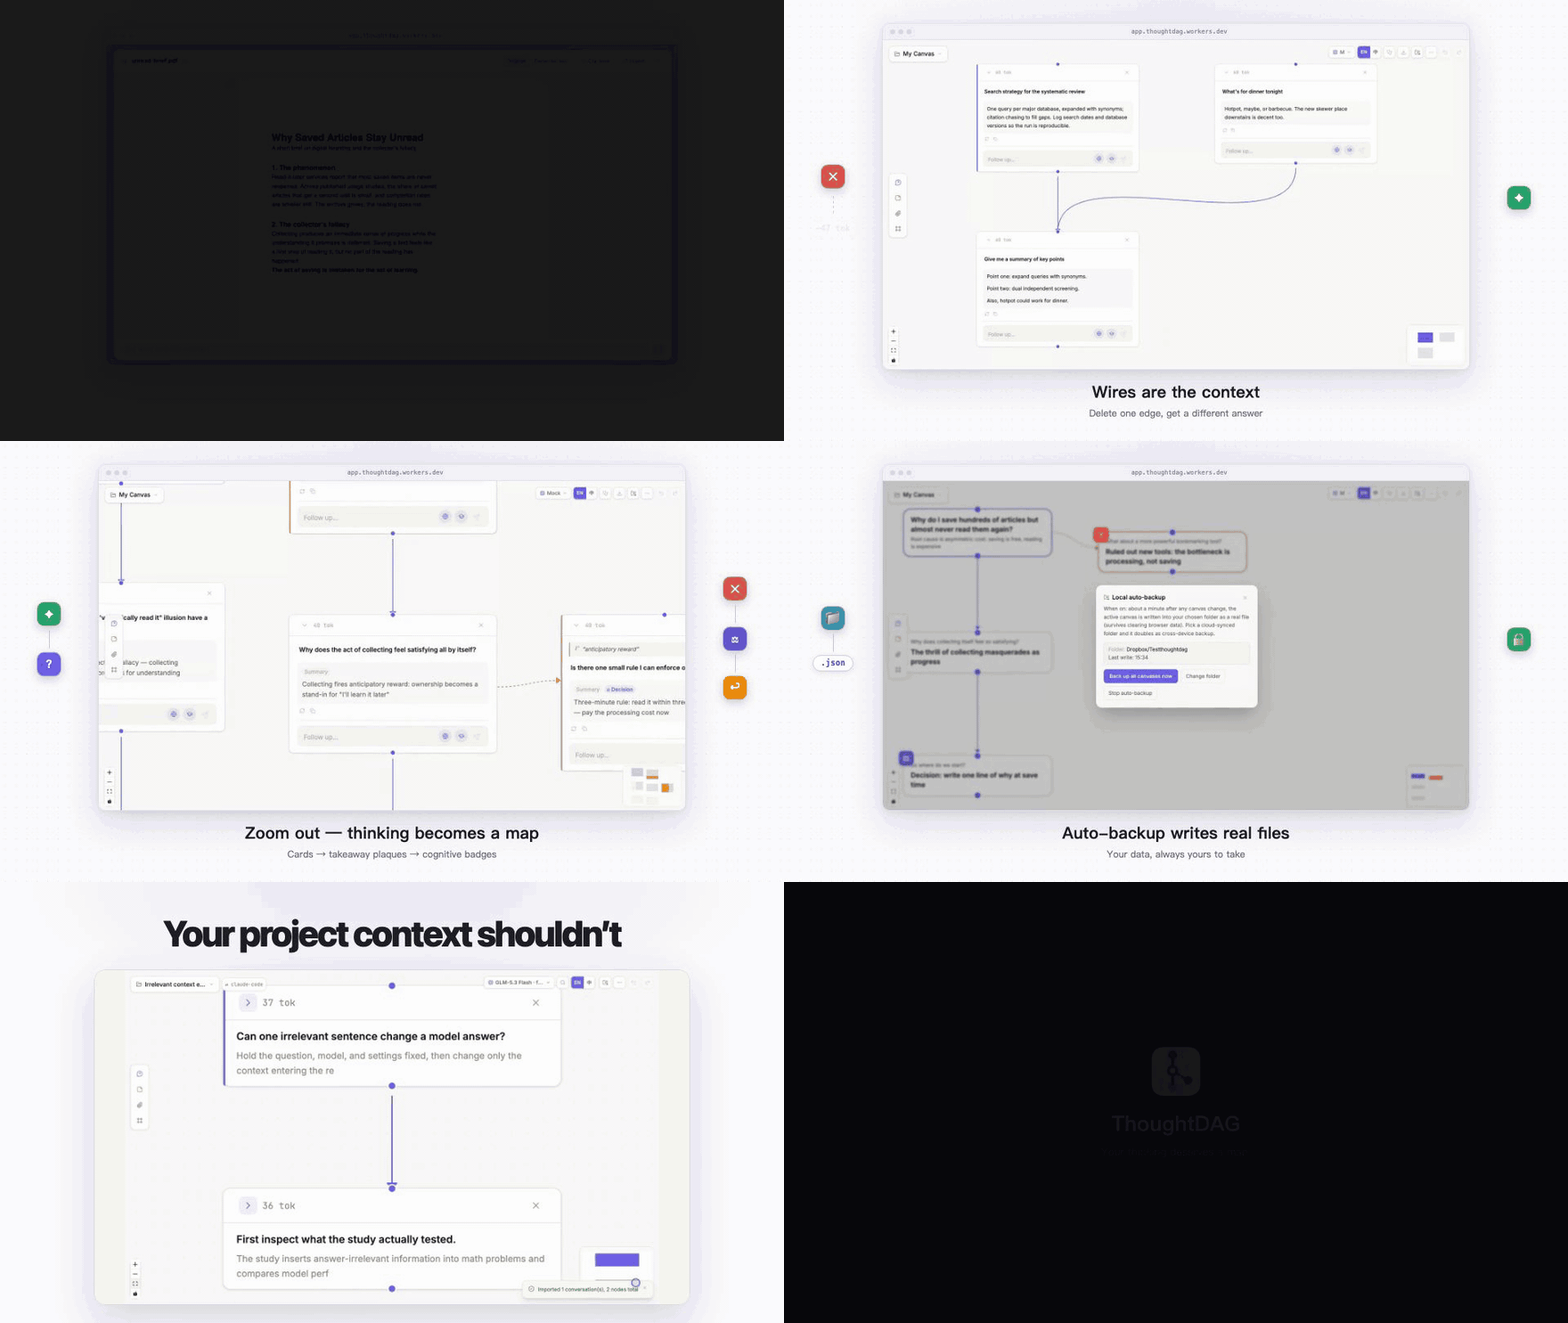
The recording below shows the actual app: asking from a document, removing an unwanted context path, zooming from full answers to the map, and opening backup/export controls.
First launch: choose where to start
The first screen offers four entry points. You can inspect examples and existing work before deciding whether to connect a model.
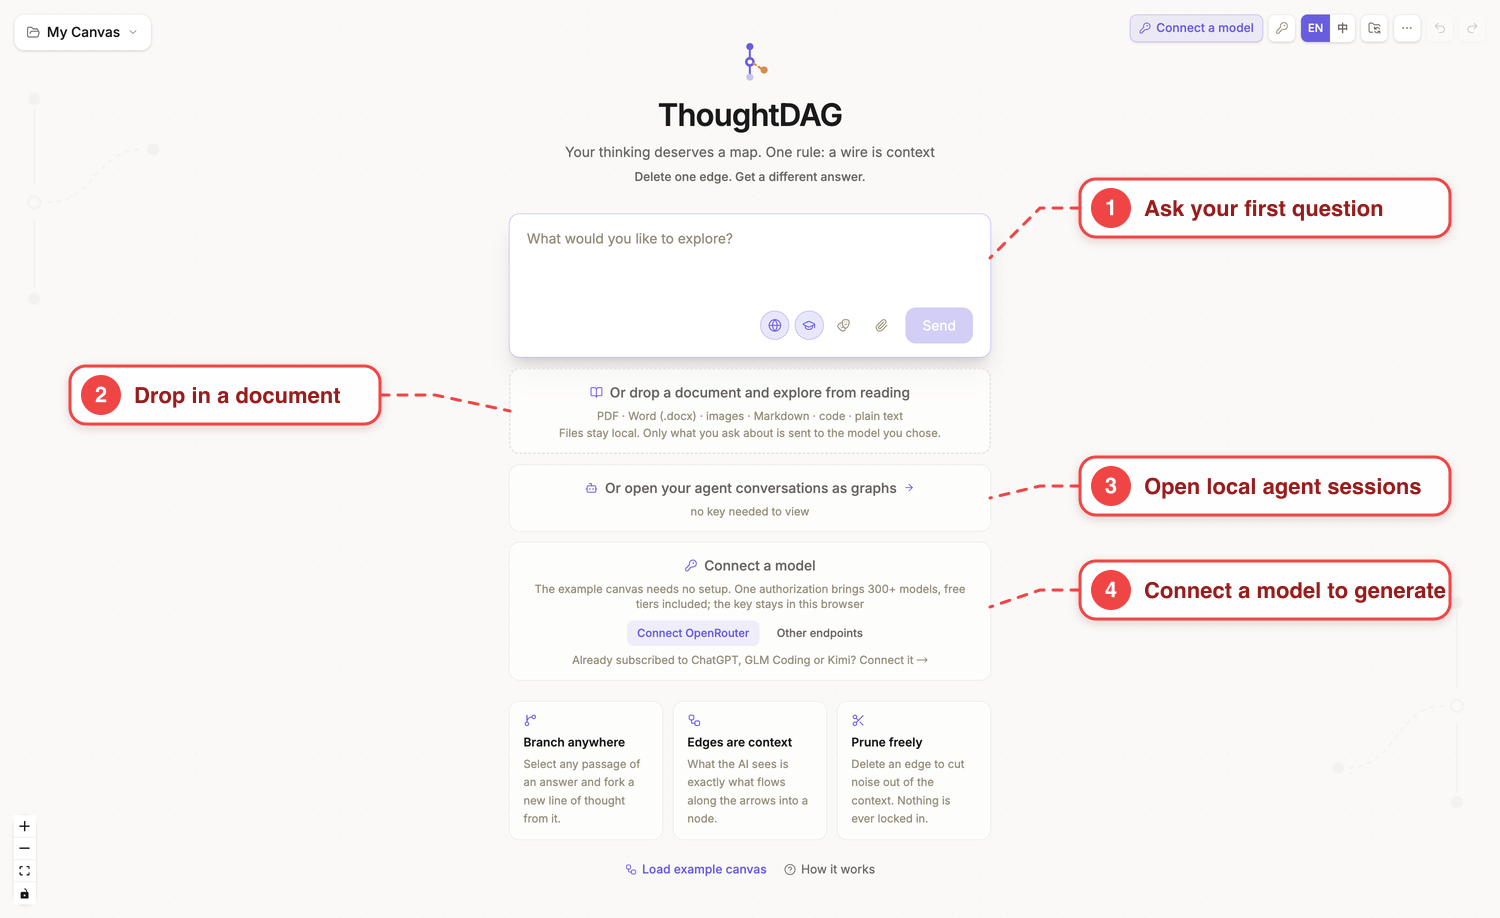
The red labels and dashed leaders are documentation overlays, not part of the app. Open the unannotated screenshot.
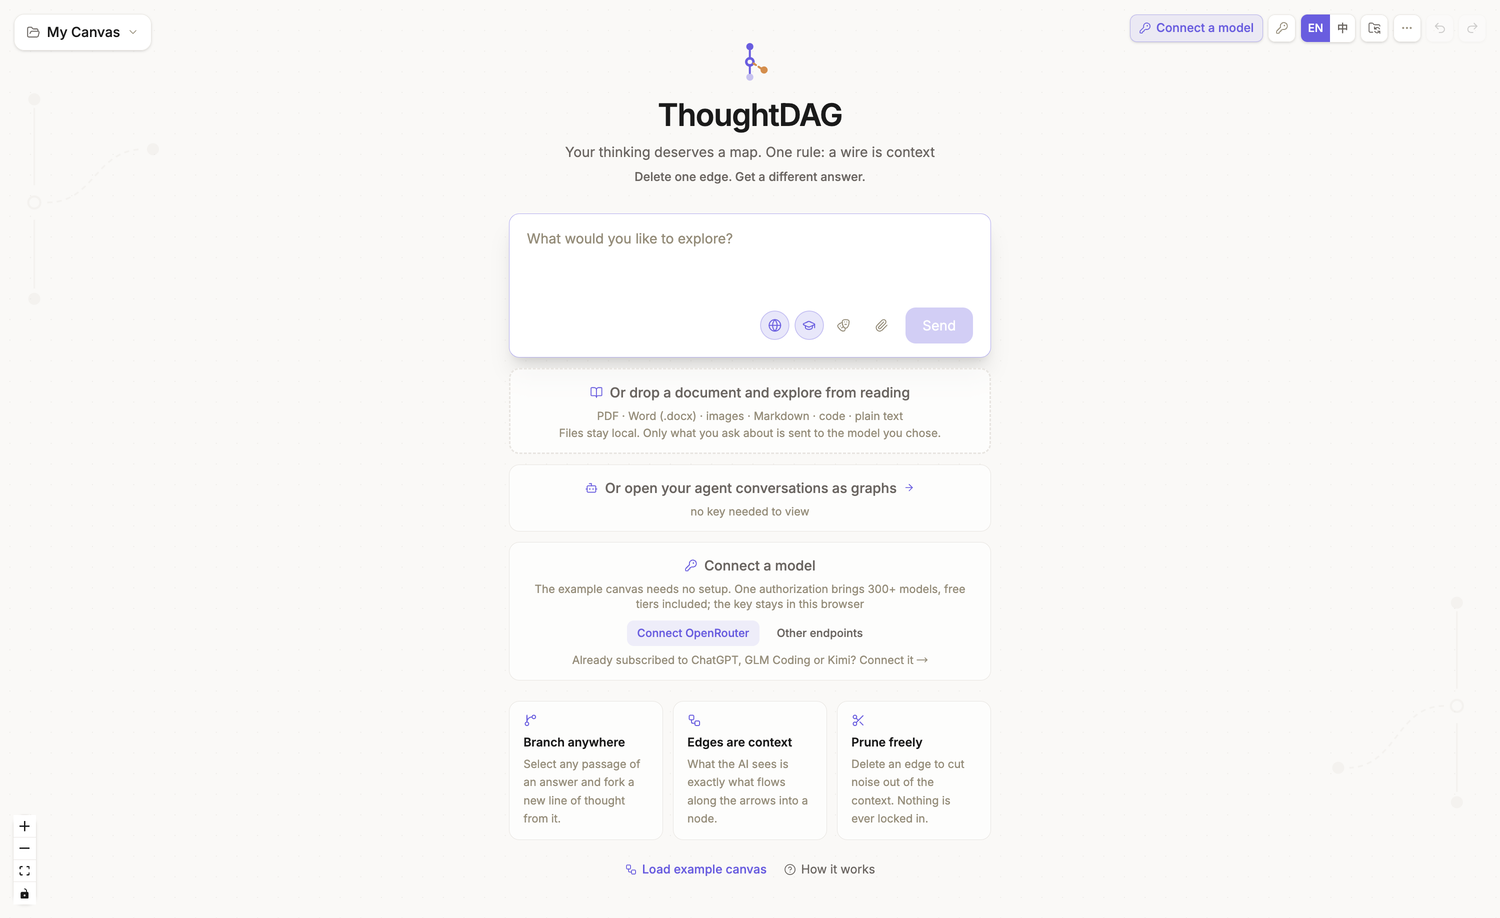
- Ask a question: after connecting a model, start the graph from a real question.
- Add material: drop in a PDF, image, or another file. Opening and reading need no model; asking and recognition do.
- Open local agent sessions: enter Session Atlas. Viewing a mirror graph needs no model.
- Connect a model: enable answer generation, image recognition, and condensing.
If you only want to learn the interface, Load example canvas at the bottom of the page needs no setup.
Connect your first model
When you need generation, choose Connect a model. One connection is enough to begin; you do not need to configure every option.
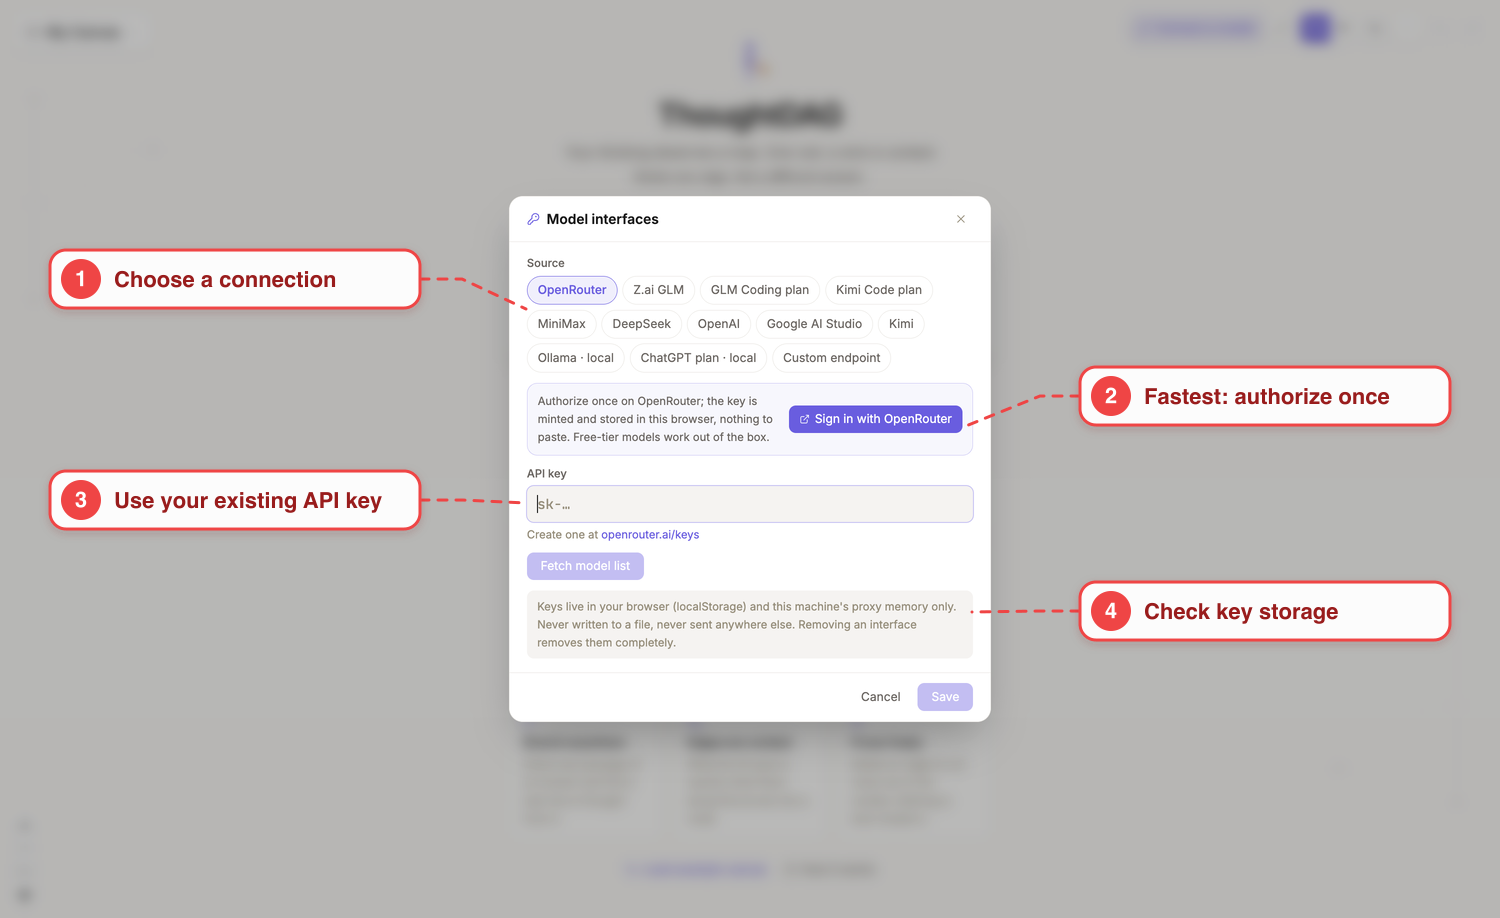
The red callouts are documentation overlays. Open the unannotated screenshot.
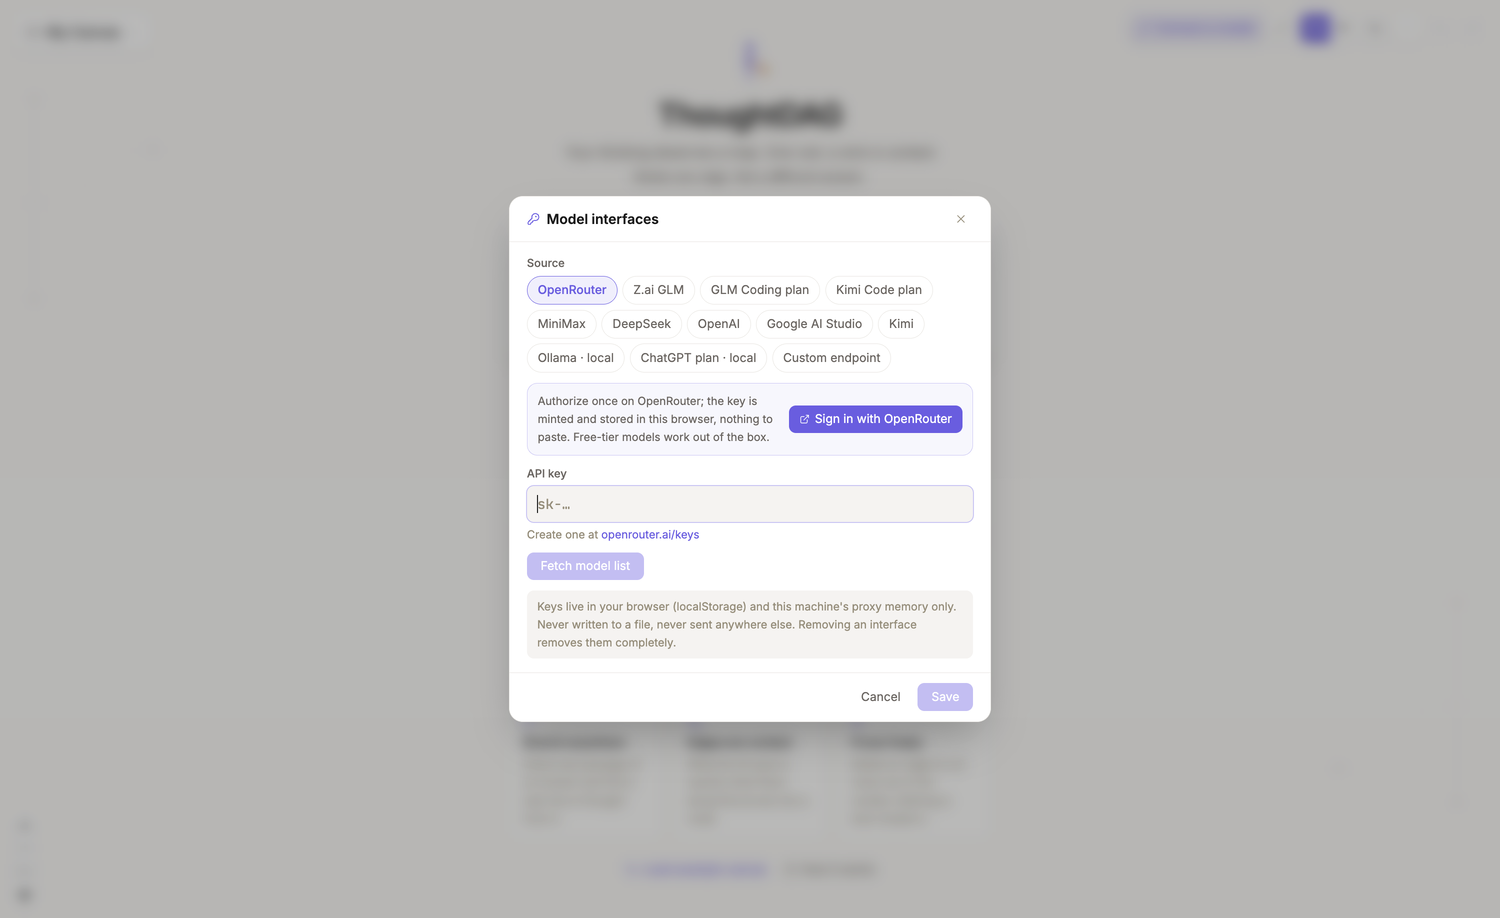
- Fastest path: use the one-time authorization in the interface.
- Existing API key: choose its provider preset and paste the key.
- Local model: choose Ollama, or use a custom endpoint.
The flow is: choose a connection → authorize or enter a key → fetch models → select models → save. The window states where connection information is kept; see Connect a model for providers, subscriptions, local models, and developer configuration.
Continue
- Load the example canvas or ask your first real question.
- Open the interface overview to learn the toolbar, nodes, wires, and floating panel.
- To continue local agent work, see source and handoff setup.
Browse all guides by interface area →
Other ways to run ThoughtDAG
Browser demo
The hosted demo is useful for a quick look, but it is a feature subset and cannot access local desktop sessions or folder backup.
Run from source
npm install
npm run server
npm run devOpen http://localhost:5173. You can configure an OpenAI-compatible endpoint inside the app, so an .env file is optional.